Managing models
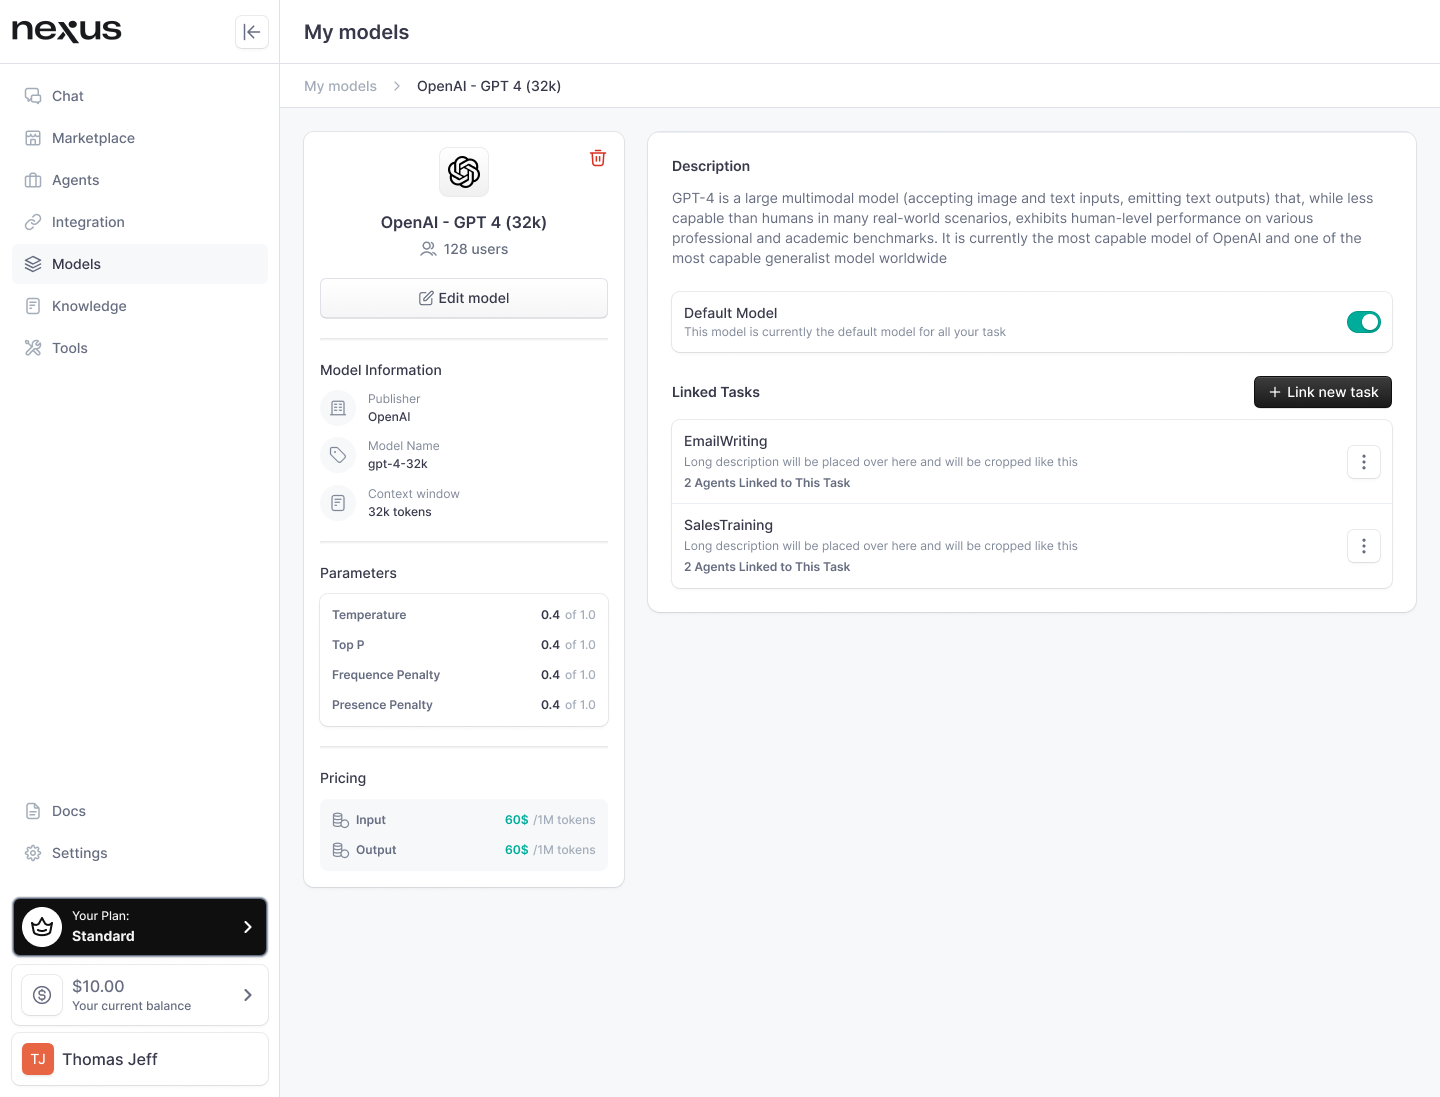
Model configuration is a fundamental aspect of personalizing your AI agent's interactions and output on nexus. Through the careful adjustment of parameters such as "temperature" and "top_p" users can fine-tune their models to produce results ranging from strictly factual to highly creative. Let’s break down these parameters and explore their practical applications within nexus.
How to link a Model to a task
Within nexus, an LLM is most powerful when linked to a specific task, which is like linking the right engine to the right car. It ensures that the task at hand benefits from the most appropriate parameters, leading to efficiency and excellence in performance.
Steps to Link a Model to a Task
-
Model Profile Access:
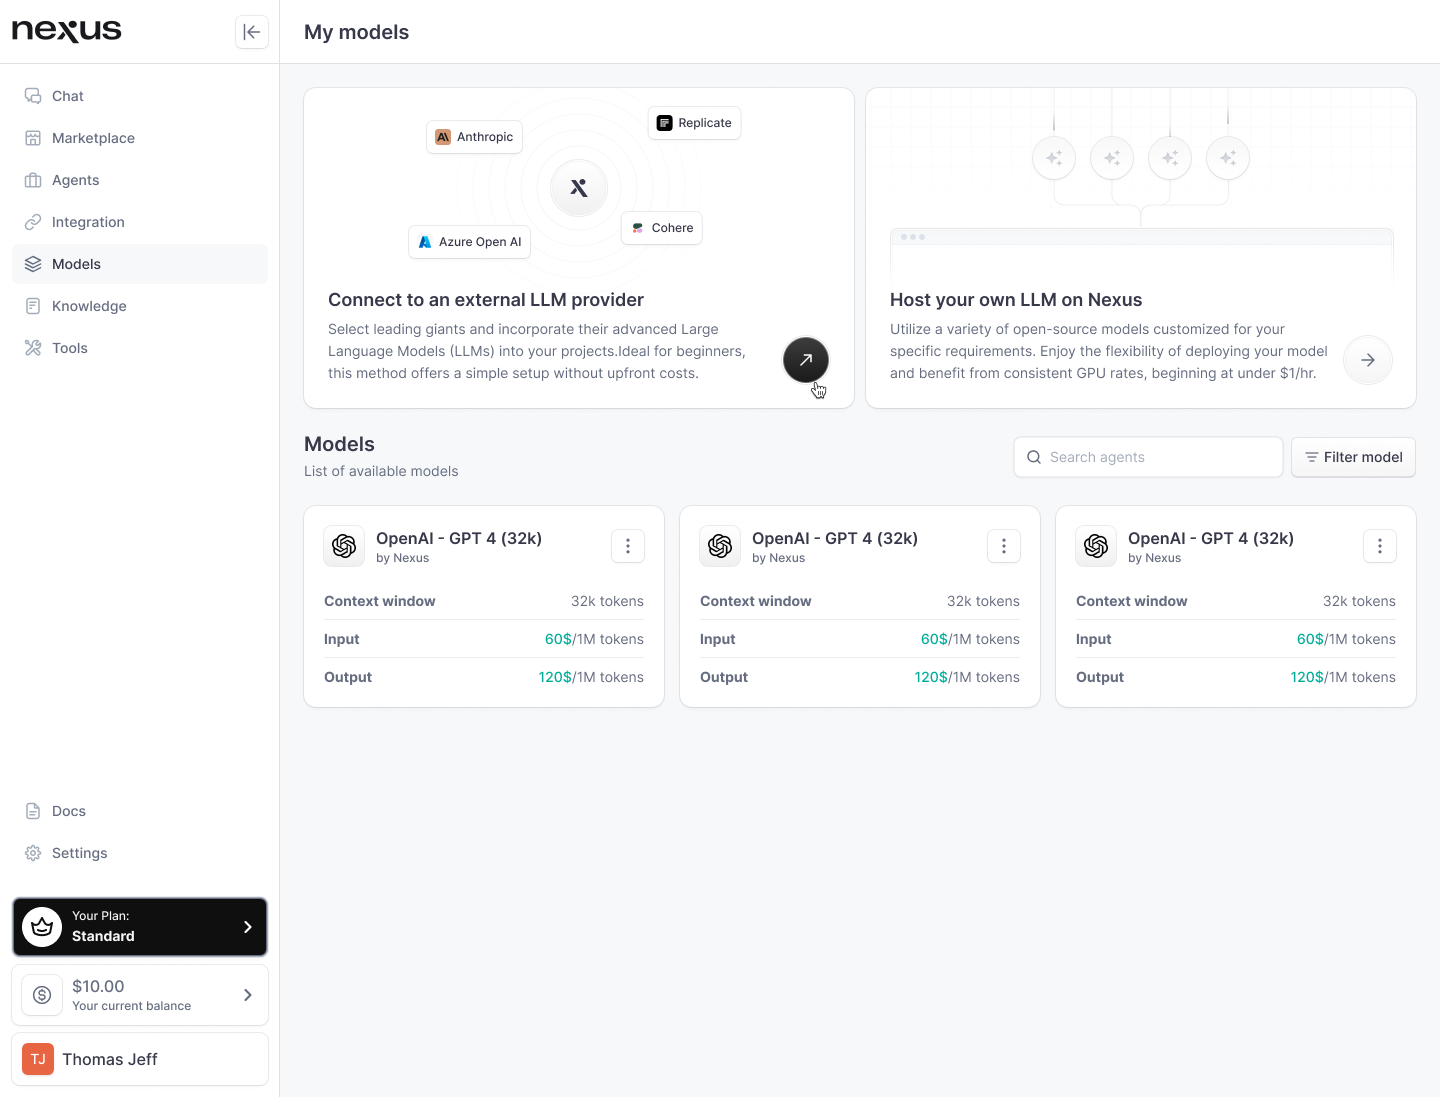
- Navigate to your 'My models' section within nexus.
- Locate the model you intend to link to a task, such as "OpenAI - GPT 4 (32k)".
-
Setting a Default Model:
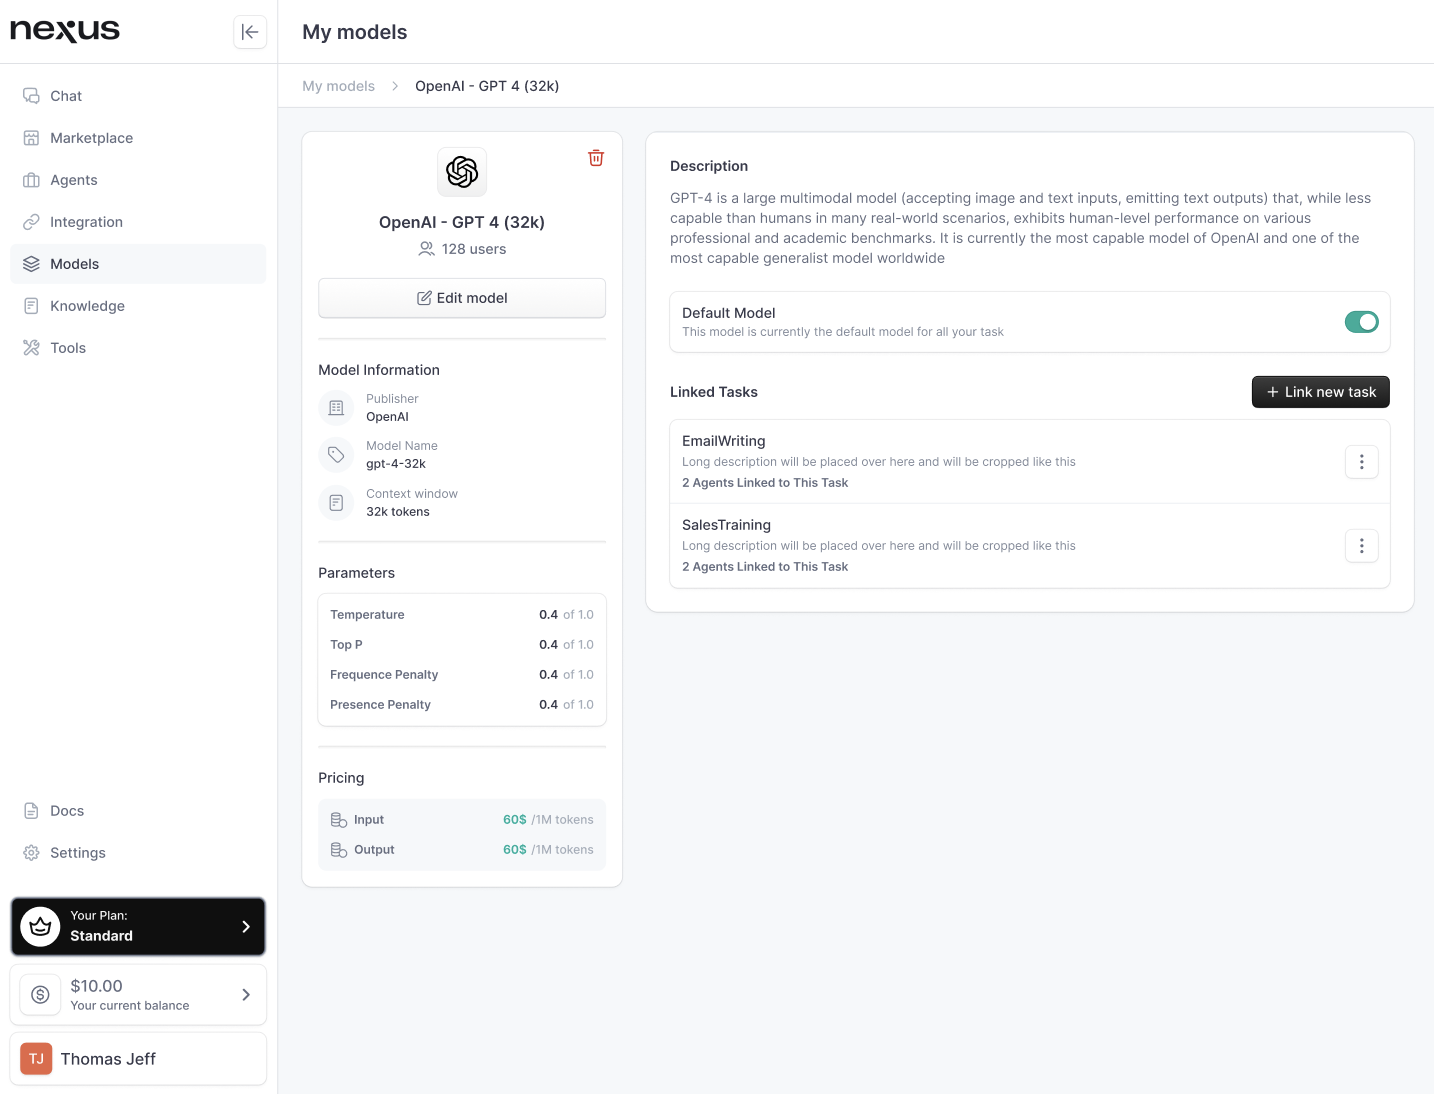
- Within the model's profile, you have the option to set it as the default model. This means any new task you create will automatically be linked to this selected model, saving you time and ensuring consistency across tasks.
-
Linking a New Task:
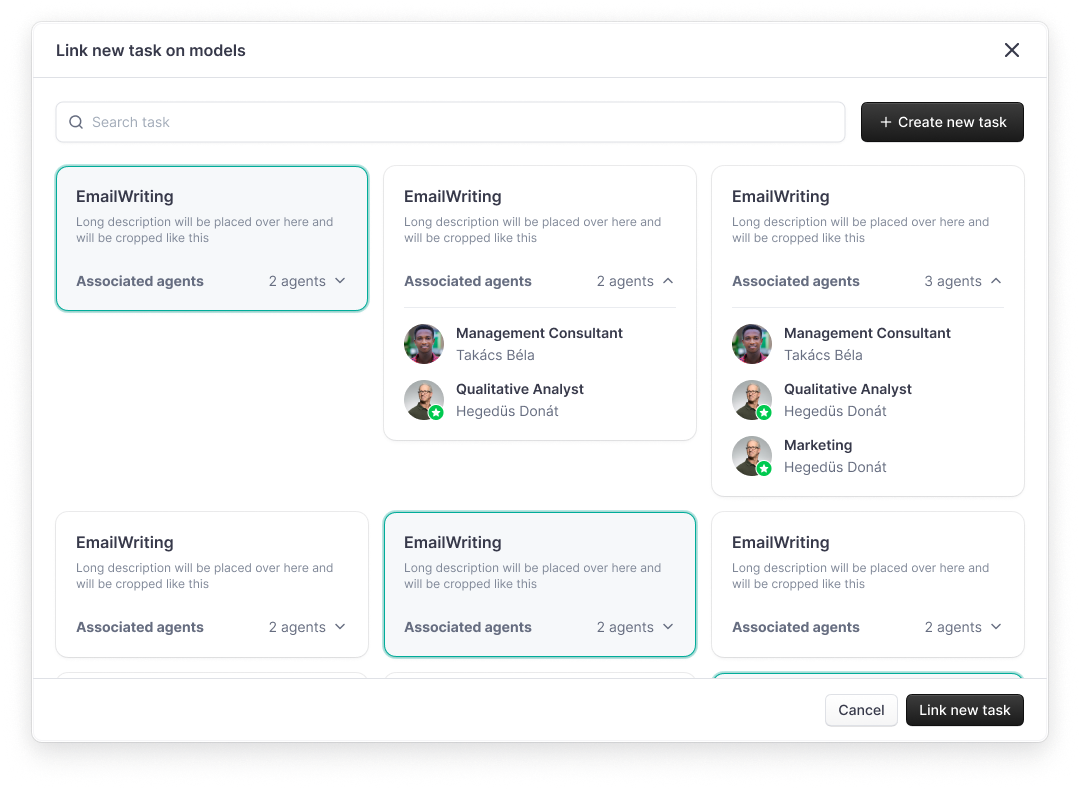
- To link a new task, click on "Link new task" within the model's profile.
- A popup will appear, presenting you with two options: selecting an existing task or creating a new task.
-
Selecting or Creating a Task:
- If you select an existing task, you'll see a list with their associated agents. Choose the one that aligns with the model's capabilities.
- To create a new task, click on "Create new task". You will be guided through the task creation flow. Upon completion, the new task will automatically link to the model.
-
Finalizing the Link:
- Once you've chosen an existing task or created a new one, confirm the link. The model and task are now symbiotically connected.
-
Unlinking a Task (if necessary):
- At any point, you can navigate back to the model's profile, select a linked task, and click on "..." to dissociate the task from the model if your strategy changes.
How to edit a Model
When on the Model tab, select the model you would like to edit. This will take you to the model profile. Under the name of the model on the left panel, select “Edit Model”. You will be taken back to the Model settings screen
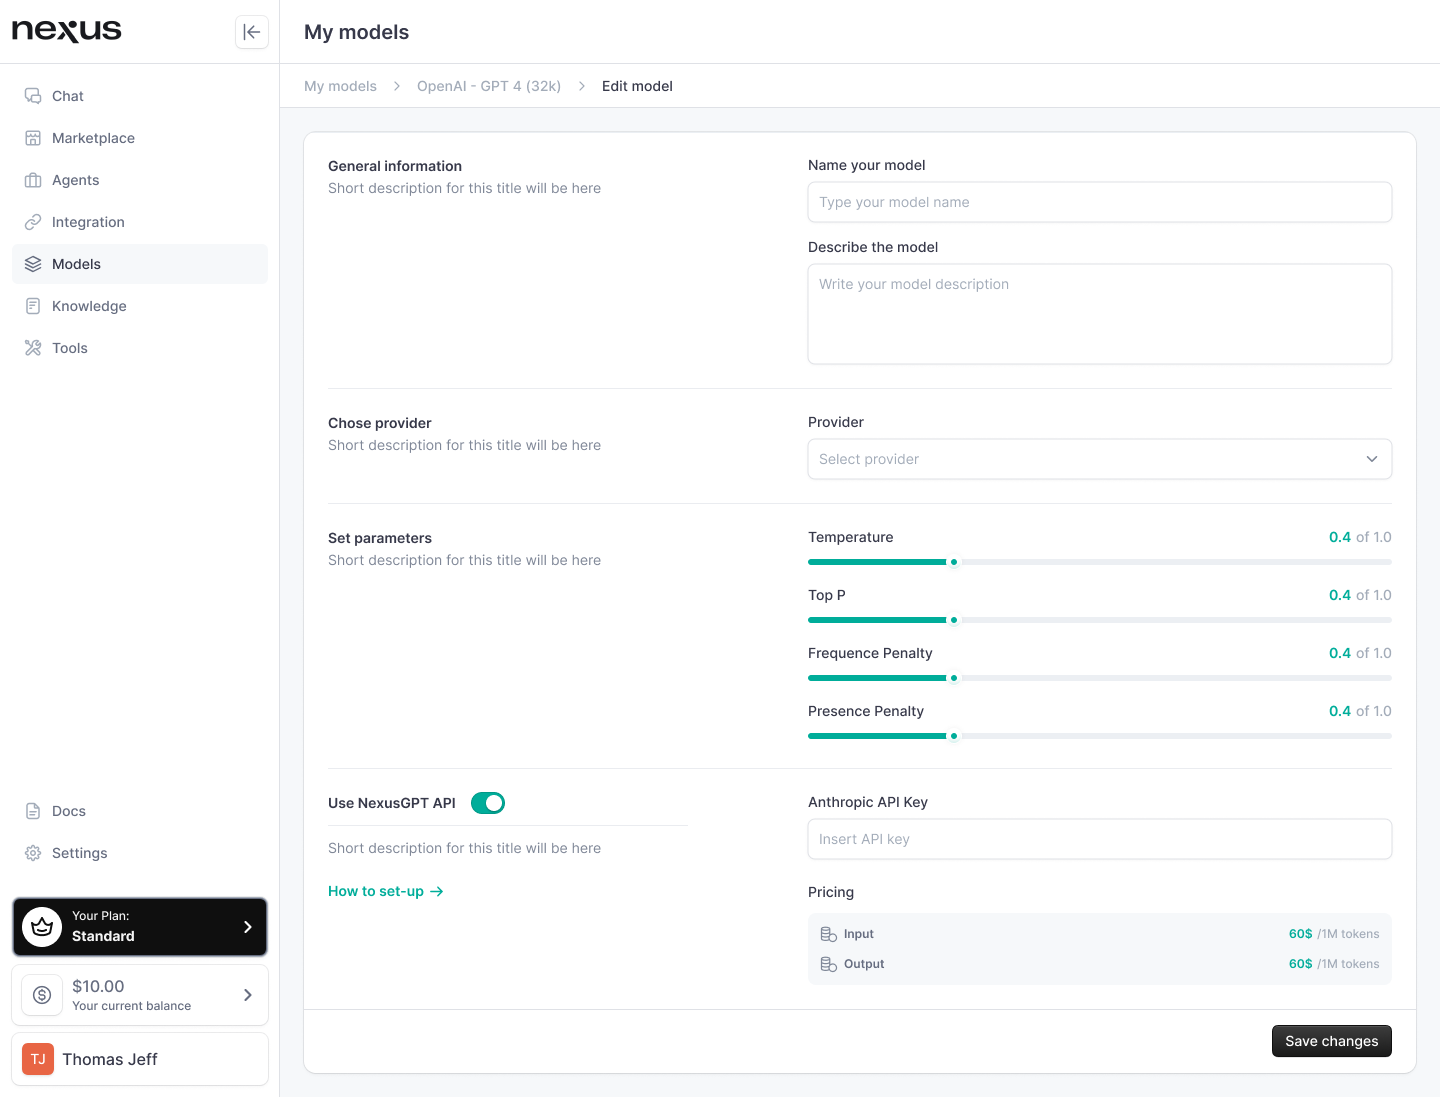
In there, you will be able to edit the following information:
- Display name of the model
- Description of the model
- Provider (if the model comes from an external provider)
- Model parameters (such as temperature, top p, frequence penalty, presence penalty)
- API key
Setting Model Parameters
Temperature and Top P: Shaping AI Creativity and Coherence
Understanding "Temperature"
The "temperature" setting in a language model influences the randomness of word selection during text generation. In practical terms, it determines how predictable or surprising the words chosen by the model will be.
Low Temperature (Conservative and Predictable)
- Temperature = 0: The model will select words in a deterministic fashion, opting for the most likely next word based on its training. This setting is ideal when precision and reliability are paramount—for instance, when generating technical descriptions or business reports.
High Temperature (Creative and Diverse)
- Temperature = 1: At this level, the model has the liberty to select less likely words, which introduces a degree of creativity and variety. This can be beneficial for brainstorming sessions, creative writing, or any scenario where out-of-the-box thinking is encouraged.
The Role of "Top_p"
“Top_p,” also known as nucleus sampling, controls the breadth of word choice the model considers. It effectively dictates the diversity of the generated text by determining how many of the most likely words are considered at each step in the generation process.
Selective Sampling (Focused and Relevant)
- Top_p = 0.5: This means the model will only sample words that collectively make up 50% of the probability mass. The result is a focused yet varied output, striking a balance between creativity and coherence.
Expansive Sampling (Varied and Wide-ranging)
- Top_p = 0.9: Here, the model considers a much wider array of possible words, including those less probable, which can lead to more unique and varied outputs. This setting can be particularly useful when looking for novel ideas or expressions.
Combining "Temperature" and "Top_p"
Adjusting both “temperature” and “top_p” can yield a wide spectrum of outputs:
- Low Temperature + High Top_p: Generates coherent, contextually relevant text with occasional creative flair. Suited for educational content or informative pieces that also need to engage the reader.
- High Temperature + Low Top_p: May produce text with unpredictable phrasing while still gravitating towards more common word choices. Useful in artistic contexts where the goal is to inspire new thoughts with unconventional word pairings.
Practical Applications
Choosing the right settings for “temperature” and “top_p” is contingent on the desired outcome and the context of use:
- Technical Accuracy: For tasks that demand exactness, such as legal or medical documentation, lower “temperature” settings ensure precision.
- Creative Expression: When the objective is to generate creative or promotional content, a higher “temperature” and “top_p” can be advantageous.
Frequency and Presence Penalties: Refining Language Generation
Frequency Penalty: Taming Repetition
The Frequency Penalty is like a cautious editor who ensures that the language model doesn't repeat the same words or phrases excessively. It diminishes the likelihood of a token (word or phrase) being used again based on how many times it has already appeared in the text.
Here's a closer look:
- Logits are the scores that the language model assigns to each potential next word. They aren't probabilities themselves but are used to calculate the probability of a word being the next choice.
- A Frequency Penalty reduces these logits scores with each repeated use of a word, according to the penalty value set. This discourages the model from choosing the same word over and over again.
Practical Example:
- Original logit score for "apple": 100.
- With an apple already generated, applying a frequency penalty of 0.2:
- New score after second "apple": 99.6 (100 - (1 * 0.2)).
- New score after third "apple": 99.2 (100 - (2 * 0.2)).
- The effect is cumulative, making "apple" progressively less likely to appear again.
Presence Penalty: Embracing Diversity
The Presence Penalty, on the other hand, is a champion of variety. It penalizes the initial use of a word to promote a broader selection of vocabulary. It’s a prompt to the AI to explore beyond the comfort zone of frequently chosen words.
Distinguishing Feature:
- Unlike the Frequency Penalty, the Presence Penalty only reduces the score once, regardless of how many times a word appears. It doesn't compound with each repetition.
Practical Example:
- Original logit score for "apple": 100.
- With an apple generated, applying a presence penalty of 0.2:
- New score for another "apple": 99.8 (100 - 0.2).
- This score remains unchanged no matter how many times "apple" is generated afterward.
Implementing Penalties in nexus
When to use each penalty will depend on the desired outcome:
- Frequency Penalty: Ideal for long-form content where repeated language can become monotonous. It maintains topic relevance without redundant phrasing.
- Presence Penalty: Perfect for brainstorming sessions, creative writing, or any application where a breadth of ideas and expressions is desired.
These settings are integral to the nexus ecosystem, where nuanced text generation is key to creating human-like interactions. Users can experiment with these parameters to find the sweet spot for their specific needs, whether they're creating narrative content, generating technical reports, or engaging in conversational AI.
Practical Applications
These penalties are vital tools for users looking to calibrate their AI-generated content on nexus:
- Technical Content: A low Frequency Penalty ensures terms specific to the subject matter aren't unnecessarily avoided.
- Creative Content: A balanced Presence Penalty can inspire a richer, more varied linguistic palette, enhancing the reader's engagement.
The nuanced application of these parameters can significantly impact the style and effectiveness of communication through nexus, aligning the AI's output with the user's intentions and the audience's expectations.
Conclusion
Experimentation is crucial, as different combinations can have varied effects on the content's style and substance. nexus allows users to experiment with these settings, enabling them to discover the optimal configuration for their specific use case.
In conclusion, model configuration within nexus is not just a technical exercise; it's a creative process that empowers users to sculpt the AI's language generation to meet their specific needs and aspirations. Whether it's drafting a factual report or composing a poem, the control is in your hands, giving life to the saying: "fine-tune your model, fine-tune your message."